Kim Crawford Winemaker Anthony Walkenhorst has spent years unlocking the possibilities of grape varietals in New Zealand’s Marlborough and Central Otago regions. With Kim Crawford best known for Marlborough Sauvignon Blanc, the secret, Anthony says, is in the blend.
Located on the north end of New Zealand’s South Island, each of Marlborough’s six sub-regions have distinct characteristics from number of windy days to soil types. New Zealand also has about 8,700 miles (14,000 km) of coastline, with the furthest point away from the ocean a mere 74 miles (120 km). This maritime climate can’t be replicated anywhere in the world, and neither can Sauvignon Blanc that’s distinctively Marlborough.
Although about 70% of the fruit for Kim Crawford comes from the Wairau Valley, which provides classic passionfruit and grapefruit aromas, the remaining grapes come from the Awatere Valley, which contribute lemon, lime, and fresh herbs. When combined, these parcels deliver the potpourri of aromas and dense concentration of flavours that characterise Kim Crawford’s signature Sauvignon Blanc style.
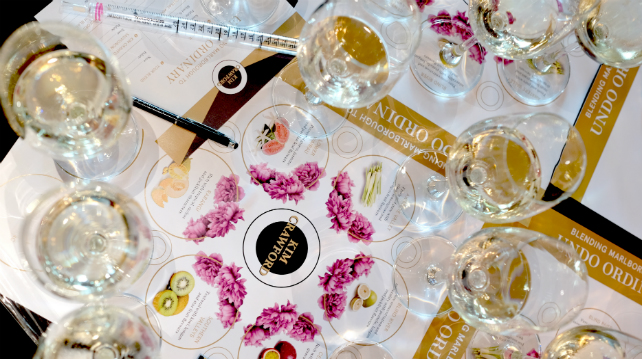
Curious about blending your own wine? Anthony gives some tips on how to get started.
What you’ll need:
- A vessel: Expect about 50ml per taste. So if there are five people tasting a blend, you’ll need 250 ml of that blend.
- Wine: Decide which wines you are looking to blend. Generally, these would be various subregions from the same region or blocks that have been kept separate through fermentation.
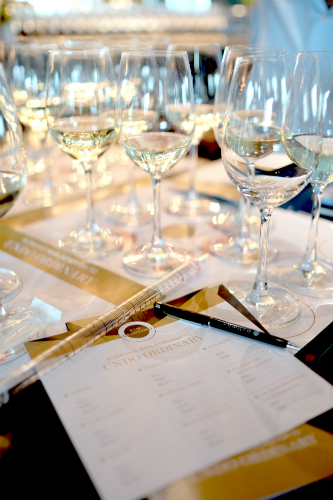
- Pen and paper for note taking
- Measuring cylinder
- Wine glasses
Step 1: Before you begin tasting and blending, have an idea about what you are aiming to create. Think about the aromas and flavours you want to capture.
Step 2: Taste the wines in your sample set and understand the characteristics that each one has to offer.
Step 3: You’re ready for aromatics. Which aromas do you want to be more dominant and which as a background to frame up the overall nose? Are you looking for citrus, such as pink grapefruit, or something more tropical, like mango?
Step 4: Next, consider the palate. Is this a bright, fresh and crisp style of wine, intended to stand on its own? Or is this a wine that’s food-friendly and can battle with the dishes that you want to eat? Think about the weight. Do the components in your blend bring a certain mouth filling and presence on the palate?
Step 5: Refer back to your sample set of wines and identify the components that you are looking for.
In Marlborough, hints of stonefruit can be found in the Southern Valleys, melon in Rarangi vineyards, pink grapefruit in the Lower Wairau Valley, and minerality in the Awatere, just to name a few examples.
Step 6: It’s time to start using your cylinder and begin blending percentages, and prepare to be surprised. Anthony says he experiments with different percentages of flavours in his blends to see how it adds up in the glass.
Step 7: Keep well-documented notes. By keeping notes, you can replicate your blend in the future or create a completely different style with the same sample set.
And finally, a word of advice when blending: Don’t be overtaken by aromatics. It’s our natural tendency to adjust blending based on aromas, so have a firm idea of what you’re looking for on the palate. In Marlborough, the Southern Valleys delivers palate weight, just as Blind River delivers a zesty citrus concentration.
Through a simple blending exercise, you too can unlock the possibilities of individual parcels, subregions, or your sample sets.
- T -